Installing SDK/Android Studio

To install Android Studio or the Android SDK, follow these steps:
- Download Android Studio from the official Android website (https://developer.android.com/studio).
- Run the installer file and follow the on-screen instructions.
- During the installation process, you'll be prompted to choose a directory to install Android Studio. Choose a location on your machine where you want to install Android Studio.
- After the installation is complete, launch Android Studio and follow the on-screen instructions to complete the setup process.
- To install the Android SDK, you'll need to open the Android Studio SDK Manager. You can do this by clicking the
SDK Managerbutton in the welcome screen or by navigating toFile>Settings>Appearance & Behavior>System Settings>Android SDKin the Android Studio main menu. - In the Android Studio SDK Manager, select the SDK Platforms tab, then select the packages that you need for the version of Android that you're targeting. You may also need to download the Android Support Library and Google Play services, depending on your project's requirements.
- After you've selected the packages that you need, click the
Applybutton to download and install the selected packages. - Finally, set the
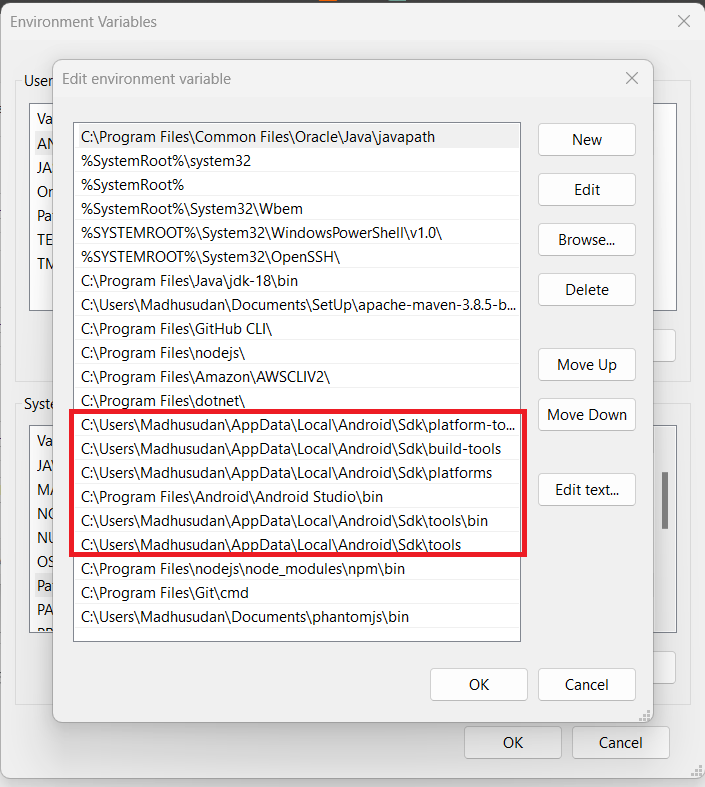
ANDROID_HOMEenvironment variable to the installation location of the Android SDK. This is usually done by adding the following line to your system's environment variables:
ANDROID_HOME = C:\Users\<user>\AppData\Local\Android\Sdk (or the location where you installed the Android SDK)
- You may also need to add the Android SDK's platform tools and tools directories to your system's PATH variable so that you can run the
adband other Android tools from anywhere in your system.
And that's it! You have successfully installed Android Studio or the Android SDK on your machine.